Remember in my second blog I wrote about Benefit Cosmetics' Watt's Up highlighter? Well, along with a contour powder, you can really create an illusion of having higher cheekbones, a sharper or narrower nose and an overall more 3D look that you see on the models in magazines.
Remember: Anything you highlight comes forwards and anything you shade goes behind!!!
Highlight: middle of forehead, highest part of your cheekbones, along the centre of your nose, your chin and your Cupid's bow (above your lips, the centre part that makes a sort of V shape)
Shade: the hollows of your cheeks (the part below where you would put blush), the sides of your nose, your temples and below your chin (to hide possible double chin)
Important tips: You can use a number of products to create the effect. Rather than using specific highlighters like my favourite Benefit Cosmetics Watt's Up, you can also use a concealer a shade or two lighter than your skin tone or even a foundation. Same thing for the shader. Use a foundation one of two shades darker than your regular foundation. And remember....BLEND, BLEND, BLEND!!!!
What I used:

Highlighter: Benefit Cosmetics Watt's Up
Shader: MAC contour powder in Shadester
 |
| BEFORE |
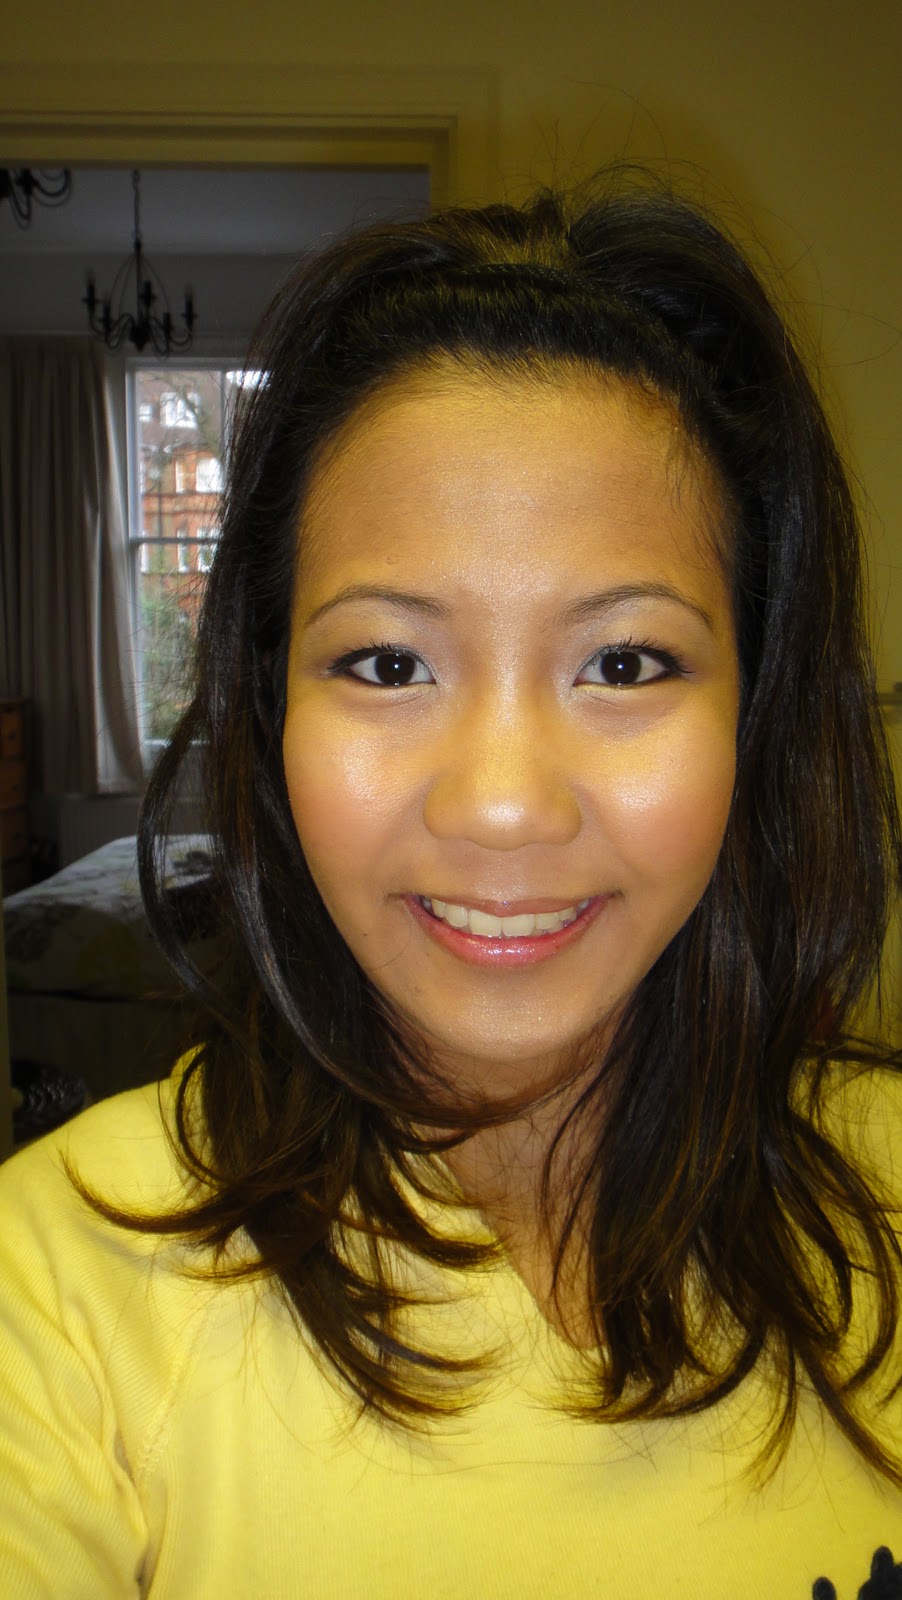 |
| AFTER |
Highlight: middle of forehead, highest part of your cheekbones, along the centre of your nose, your chin and your Cupid's bow (above your lips, the centre part that makes a sort of V shape)
Shade: the hollows of your cheeks (the part below where you would put blush), the sides of your nose, your temples and below your chin (to hide possible double chin)
Important tips: You can use a number of products to create the effect. Rather than using specific highlighters like my favourite Benefit Cosmetics Watt's Up, you can also use a concealer a shade or two lighter than your skin tone or even a foundation. Same thing for the shader. Use a foundation one of two shades darker than your regular foundation. And remember....BLEND, BLEND, BLEND!!!!
What I used:

Highlighter: Benefit Cosmetics Watt's Up
Shader: MAC contour powder in Shadester


